You’ve chosen the wine you want to craft and now you’re going to begin the fermentation process. Don’t worry – it isn’t difficult at all and our very experienced staff will help you through the process.
Preparation
We start by preparing our primary fermentation vessel, A.K.A. the Primary Fermenter. At Steveston Winemakers we use food grade liners to ensure a clean environment for the fermentation to begin. The Primary Fermenters are thoroughly cleaned after each use and are stored with a solution of sulphite in their base. We’ll recycle the sulphite solution into a bucket in the sink where we sterilize our mixing tools. We take care not to inhale the fumes directly, unless we need our sinuses cleansed.
With the Primary Fermenter placed on our electric lifter and fixed with a fresh liner, we’ll add 1 to 2 inches of water. Into the water we’ll carefully shake the bentonite and swish it around until it is dissolved.
For this journey we’ll use one of our most popular red wines which has a variety of ingredients. Different kits have different ingredients so the next steps will vary, but not by much.
The Wine Kit
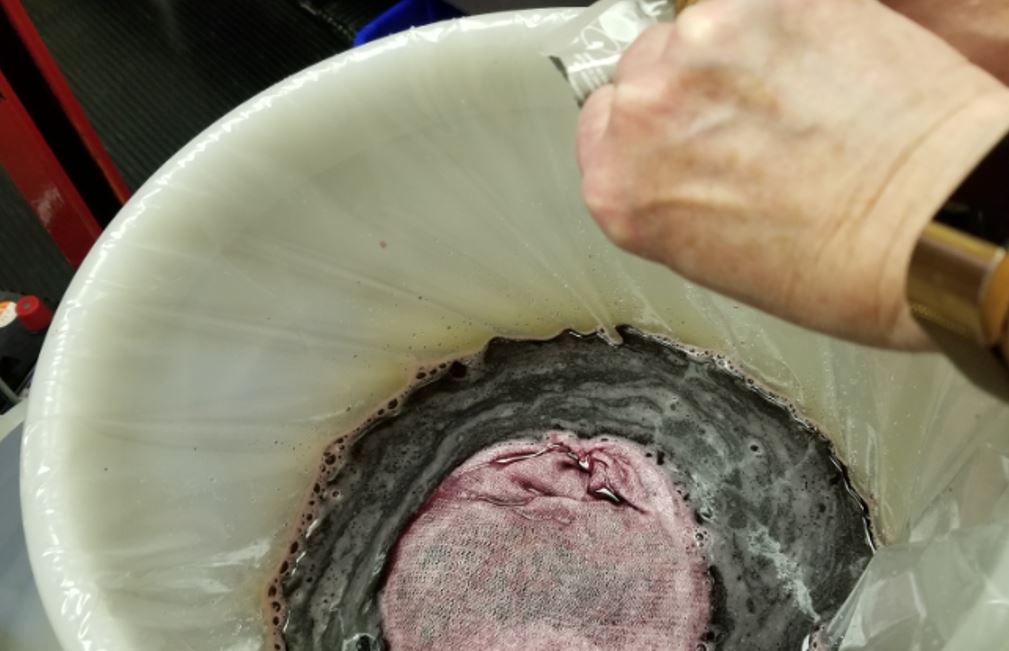
A sock, much like cheesecloth, will help keep all of the loose bits together, makes future steps a lot easier. It’s stretched over the mouth of a small mixing bucket and then we add the ingredients. In this kit, packages of oak chips go in first. Next is a bag of delicious dried grapes. Once all the contents for the sock have been placed in the small bucket we tie it up. We’ll leave a lot of empty space so there’s room for the ingredients to expand. Any excess length is cut off and recycled. Carefully, we’ll lower the sock and dump it into the Primary Fermenter. We’ll rinse the sides and bottom of the small bucket and add it to the Primary Fermenter so it all goes into your wine.
Next comes the most difficult step and that is pouring the juice concentrate from the bladder into the Primary Fermenter. Keeping the Primary Fermenter below the counter helps a lot and so does experience. Once the bladder is empty, we rinse it twice, pouring the contents into the Primary Fermenter so it all goes into your wine.
All non-dessert wine kits start with 23 litres so every bucket is marked at the 23 litre level. We’ll add water to the Primary Fermenter up to the appropriate level. When there’s a wet grape pack in the kit, we add an extra inch of water since the sock will be removed later.
Begin Fermentation
It’s now time to give the contents a good stir, being extremely careful not to rip the bag. This is best accomplished by not letting the stir spoon touch the bottom or the sides. Remember if the grapes are from down under to stir counter clockwise. Once everything is mixed it’s time for you to pour the love (sprinkle the yeast ) which will immediately start to work consuming sugars and producing alcohol. Now you’re a vintner!
We’ll place the lid firmly on the Primary Fermenter and use the electric lifter to place it on a top shelf. Because this kit has grapes it will be receiving some extra attention. The grapes will float to the top, causing a seal and blocking the air so the staff “punch down” these kits daily to ensure fermentation proceeds properly. All of our wines are in the primary fermentation stage for 14 to 16 days when, under normal circumstances, the wines will have reached the appropriate specific gravity. If not, our staff will take appropriate steps to help the wine get to the right place. This could include adding more yeast or leaving it for a few more days. This rarely happens, in fact I have yet to see anything more than an extension of a couple of days.
See how easy it is to begin the fermentation process?
Next month’s topic will be about Crafting Your Wine Step 2 – Racking.
